Let's face it, most viewers are into magnification more than anything else. As long as the subject is huge in the frame, in-your-face, they'll be wowed, regardless if the image was properly composed, exposed etc.
My all time highest viewed image on my Flickr is this jumper. No prize for guessing it was shot with the MP-E65
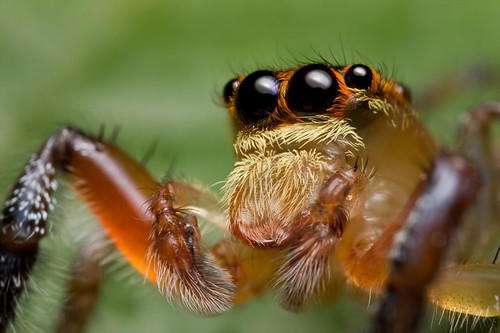
I do like that one, but there are many more smaller than life-size images that I adore too. In fact, most of the macro shots I like are those with less than 1X magnification.
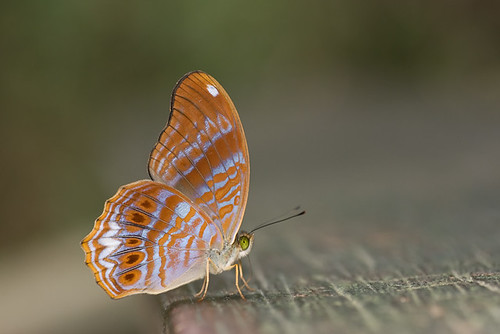
A beautiful butterfly, shot with my Tamron SP90. I miss that lens.
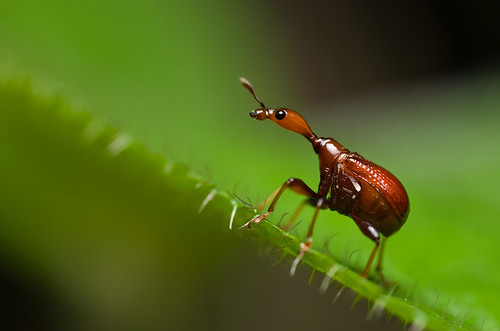
A female Gee Wee (Lordmint's abbreviation for giraffe weevil :D).
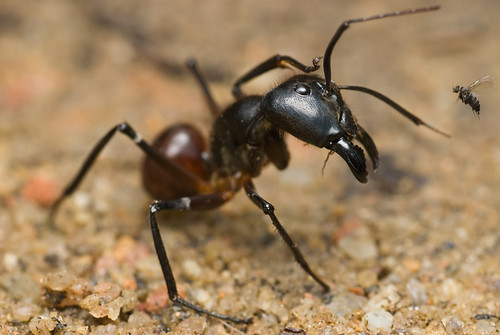
A giant tropical ant (Camponotus Gigas) being attacked by a phoridae (parasitoid fly). For more info, click here.
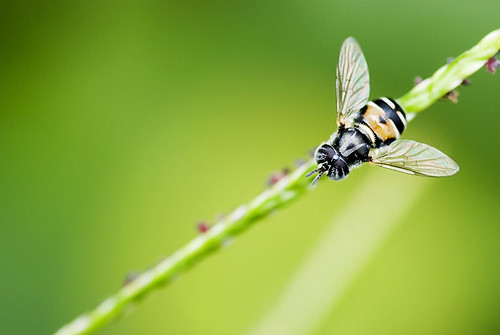
A hoverfly perching on a stem
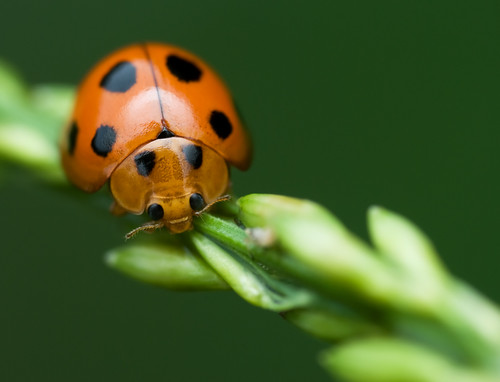
A lovely looking yellow ladybird
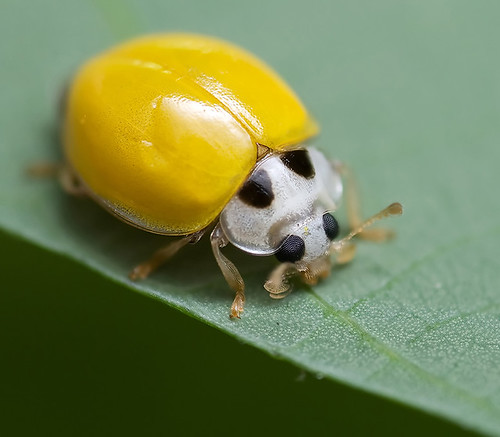
Another lovely ladybird. If it looks familiar to you, it's because it's on some Rapid Buses, LRT and monorail :)
Why am I showing you these? I am telling you macro needs not to be all about magnification, although it can be used as another compositional tool. So pick up your 1X macro lens and go shoot something now!
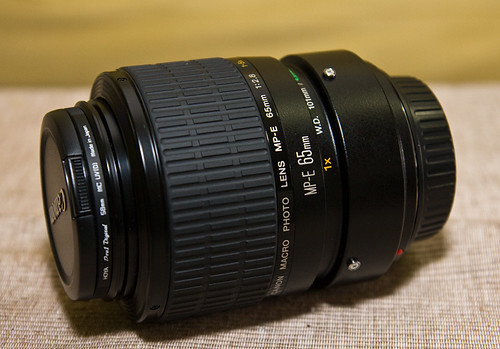
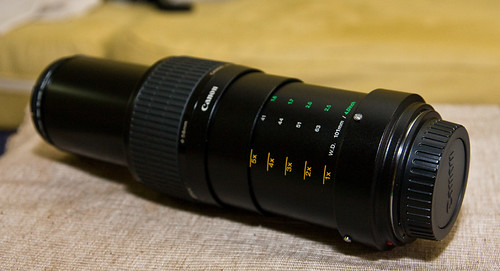
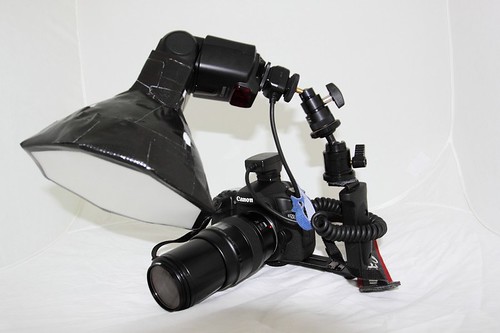
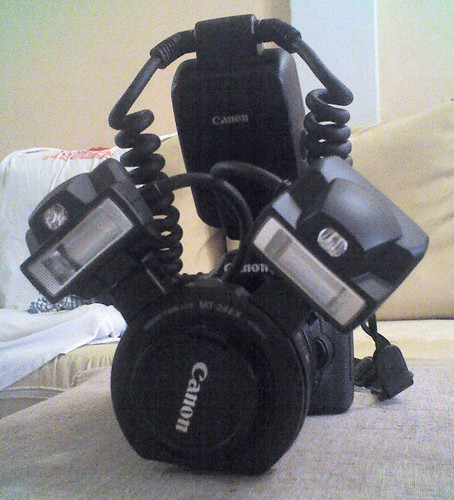
All macro images shot with a 40D, Canon MP-E65 1X-5X Macro Lens and Canon MT-24EX Twin Flash
It is always good to take full body shots of your macro subjects and perhaps shows a bit of the environment as well, before zooming in for higher magnification shots. It is all about balance!
Of course, I can totally understand that when you get really comfortable with 1:1, you will want to go into higher magnification. In that case, check out options like Extension tubes, diopter lens like the Raynox DCR250, reversing ring, DMF Supermacro, Novoflex EOS Retro Reverse Adapter etc.