In this post, we will talk about the use of Flash Exposure Compensation (FEC) and EV (Exposure Compensation) in our Full Flash Macro Photography. But before we do that, we need to know what Full Flash photography and ETTL are.
Full Flash is easy to explain. Take a look at my typical Full Flash Macro Photography setting: MT24EX on ETTL Mode, 40D on manual exposure mode: F11, 1/200, ISO100. At this setting and 1X magnification, you will most likely capture a dark/black frame if you don't turn the flash on. Do note that when you change the focus from infinity to 1X, you lose about 2 stops of light. Since all (or most of) the light is supplied by the flash/speedlight, that is why it is called Full Flash Photography. More about it
here.
E-TTL (Evaluative-Through The Lens) is a Canon EOS flash exposure system that uses a brief pre-flash before the main flash in order to obtain a more correct exposure. E-TTL uses the same evaluative metering sensor used for ambient metering. The sensor is internal to the camera and takes its exposure via the lens so any filters added to the lens will also affect the E-TTL readings giving more accurate exposure information to the camera.
Since it's full flash photography where all the light is supplied by the flash/speedlight, it only makes sense that you control the exposure directly using the Flash Exposure Compensation (FEC) function rather than EV (Exposure Compensation), which is meant more for ambient exposure where no flash is used.
My MT-24EX is normally in ETTL mode at -1 FEC. You need to find out for yourself what your typical FEC is for your type of flash and diffuser. It won't be the same.
The key thing here is to adjust your FEC according to the scene. In fact, i pre-adjust my FEC even as i approach my macro subject, that is, if i don't get overly excited by my finding :D
Generally, there are only a couple of scenarios:
A scene with immediate background: normally the FEC will stay at -1, plus or minus 0.3 stops. This one was at -1.3 FEC

A scene with no background, i.e. nothing but just the subject itself to reflect the light from the flash/speedlight, I had to use -2 FEC, i.e even less light from the flash/speedlight compared to -1. -2 is the lowest I can go if i control via the camera body (40D).
If there is an immediate background but its dark, then the effect is the same. Look at this one, -2 FEC:

You can control the FEC from the speedlight itself and it will override the in-camera FEC. From the speedlight itself, you can go up/down to + or - 3 instead of just 2 in camera.
A scene with really bright background. This time the FEC was -0.33, i.e. more flash than -1 FEC. Don't be afraid to go to +ve : whatever it takes to expose/light up the scene correctly.
It is always good to get the exposure right or within the ball park so you will not need to adjust the exposure too much in post processing. Too much of exposure correction in post processing will result in excessive noise and should be avoided.
On my 40D, it is extremely easy to control the FEC. Just one press of this button on the top panel,

Press the button on top of the icon with +/- and flash symbols.
then rotate the big dial clockwise (to add) or counter clockwise (to reduce) the flash output
Animated gif showing the FEC at +1, 0 then -1.
You will see something similar in the view finder as well.
It was quite easy to control FEC on previous camera Nikon D80 too. Just press and hold the FEC button with the left hand and turn the dial with your right. In fact, i think it was easier on the D80 but it's still not bad on the 40D.
On the lower end Canon model such as the 450D, you might have to go into the menu to dig up the FEC control. So unless you can register the FEC into "My Menu Setting", you might just want to control from the speedlight itself.
On models like 60D and 70D, you can customize the Set button to have quick access to FEC. Please watch this
clip.
FEC (Flash Exposure Compensation) is not just for full flash macro photography though. I use it when I shoot event, portrait, etc - any time when flash is used.
So the next time you shoot full flash macro again, put these macro photography tips to good use. Analyze your scene better and dial in the appropriate FEC. Try your best to get the exposure right in-camera so you will have less work during post processing :)


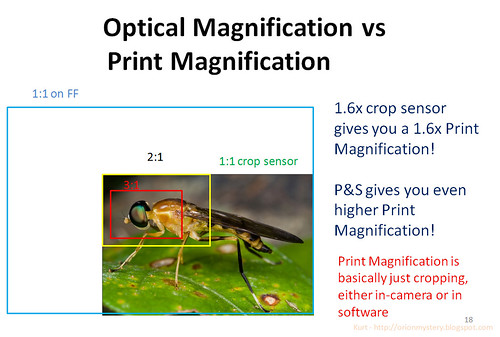
 Magnification = sensor width / # of mm captured