ShareThis

Saturday, October 27, 2012

MT-24EX vs R1C1

MT-24EX - R1C1 face-off / showdown! I am not here to talk about which one will give you better light or which one is more powerful. They are both powerful enough and your light depends on how you diffuse your flash. If you need ideas on diffusion, check out this post instead. I highly recommend the concave diffuser!

I am more interested in how well both systems work out in the field, and the kind of issues real life macro photographers face when they are out there!

All Nikon R1/SP90 images and measurements/info are courtesy of JW. You can also check out his thoughts on the R1 in that link!

Front view of the Mounting brackets. Note that the bottom part of the bracket for the MT-24EX (left) is trimmed off/flat but that's not the case in R1C1's mounting bracket (right).
R0019246 copy Nikon_R1_05_heejennwei_
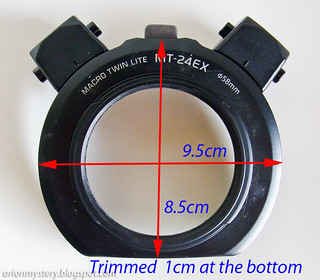
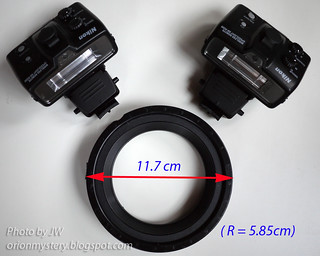
MT-24EX mounting bracket's diamter is 9.5cm but it's trimmed by 1 cm at the bottom. The R1 mounting bracket's diameter is 11.7cm, no trimming!

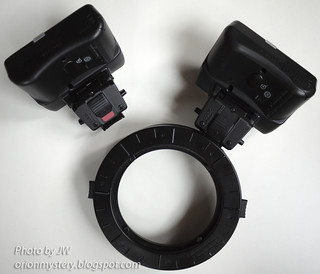
Rear view of the Mounting brackets.
R0019248 copy Nikon_R1_06_heejennwei_

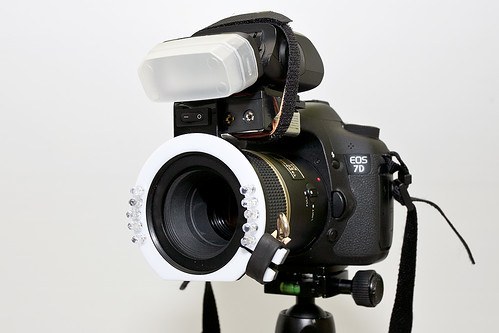
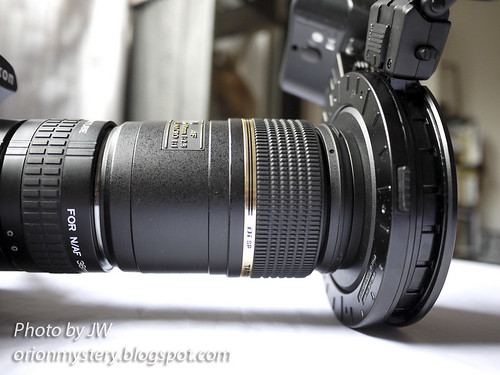
Mounted onto my MP-E65 macro lens on the left, and R1 onto Tamron SP90 on the right.
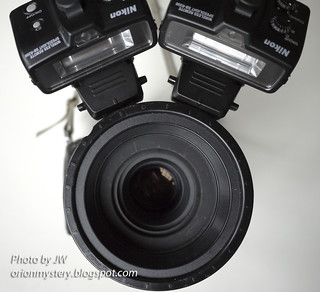
R0019252 copy Nikon_R1_03_heejennwei_

R0019253 copy Nikon_R1_01_heejennwei_

Top view:
mt-24ex vs r1 mounting bracket R0019516 copy
It is very obvious how much bigger the R1 bracket is!

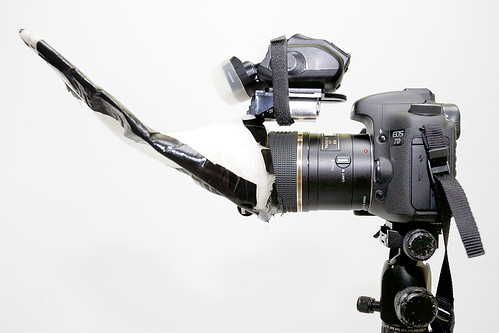
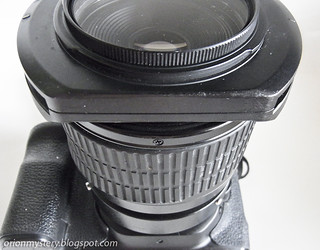
This is how much the R1 bracket protrudes beyond the lens barrel:
Nikon_R1_Twin_Flash_03_heejennwei_


Again, you can see clearly here that the MT-24EX mounting bracket is trimmed at the bottom and that the bracket doesn't extend beyond (radially) the MP-E65's lens barrel, and therefore allows me to shoot from really low angle, as low as the lens would go on a flat surface! On the R1/SP90 combo, however, the bracket protrudes out (radially)  far beyond the lens barrel. Needless to say, the bracket will get in the way and prevent you from getting really low when you try to photography something on a flat surface.

R0019276 copy Nikon_R1_08_heejennwei_
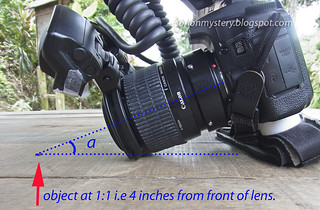
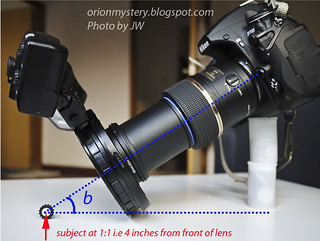
I made some rough measurements in CS5. It was about 21 degrees on the MT-24EX/MP-E65 and 33 degrees on the R1/SP90.


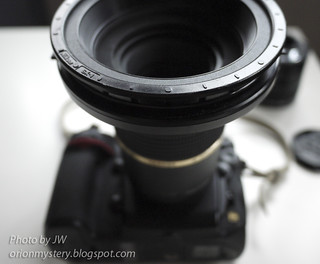
Besides the bigger diameter of R1 mounting bracket, the thickness is an issue as well. The MT-24EX mounting bracket, once attached to the MP-E65, is about 12mm (see the image below) ahead of the front element. The R1 bracket will extends out quite a bit. You can tell from the image on the right above the "depth" (the distance from the front of the bracket to the front of the lens) was really big!

R0019309 copy
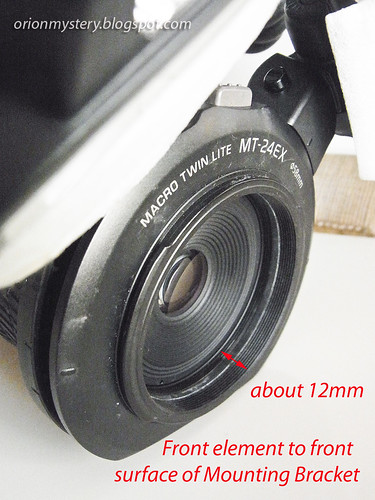
The corresponding measurement for the R1/SP90 is 35mm.

 R0019310 copy
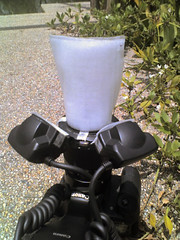
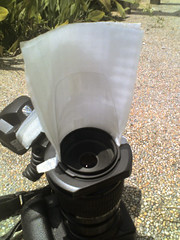
 The corresponding measurement for the R1 is 2.5 cm (horizontal), and 9.5cm (vertical)!


Therefore, the SR200s are not only higher but also extends out quite a lot from the front of the lens. This tends to cause shadow on the lower part of macro subjects, and also very small/thin and dim catchlight as mentioned in this post and this post.

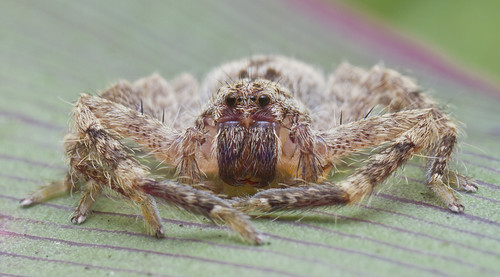
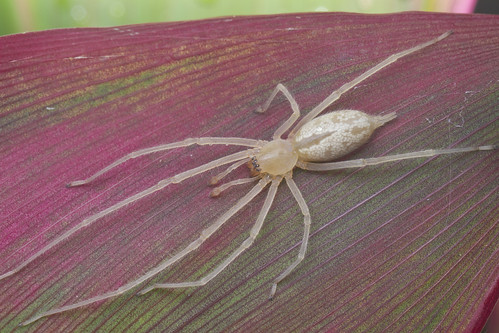
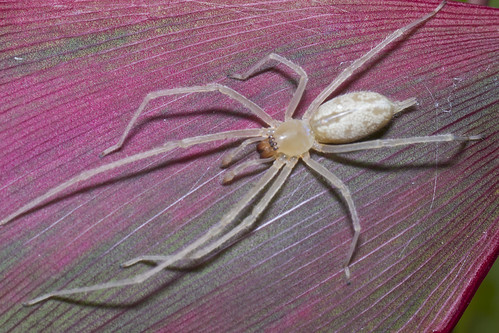
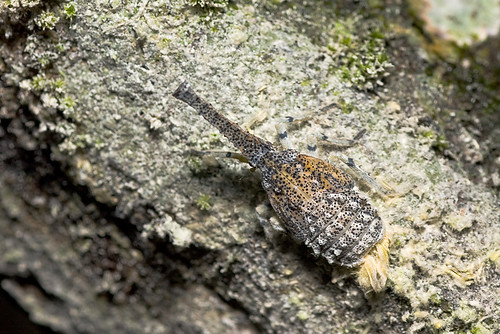
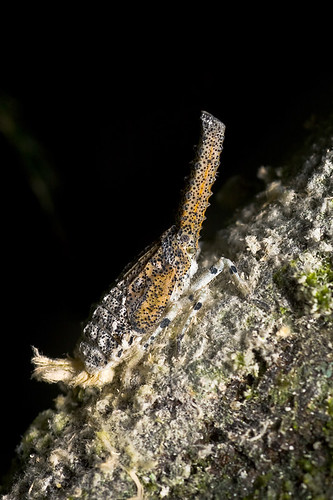
This image was taken by JW using his SP90/R1 macro rig. Not the very small/thin catch light in the spider's eyes. With the concave diffuser he is using, bigger catch light is to be expected unless the light angle is too high.
377415_10151068007466793_1027440547_n

 The catch light should be bigger, like this, when using the concave diffuser.
Jumping spider...IMG_5250 stk copy

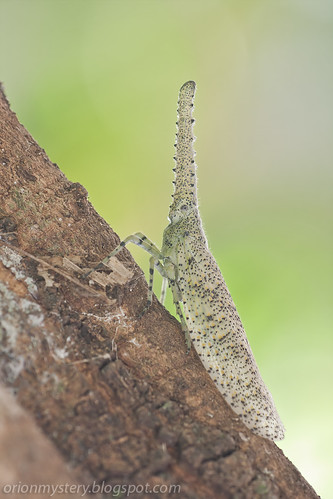
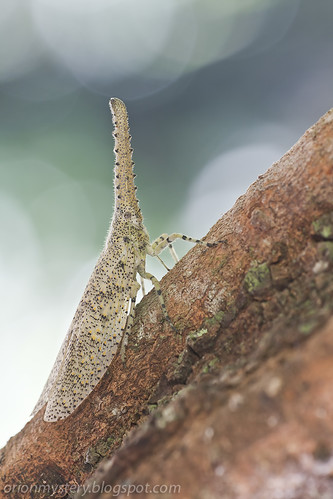
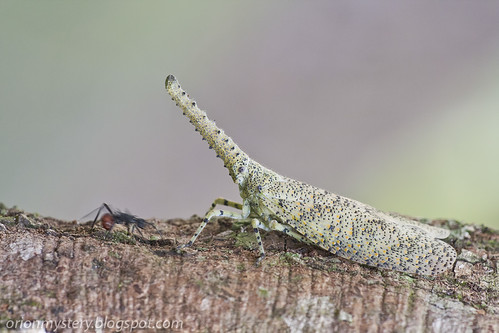
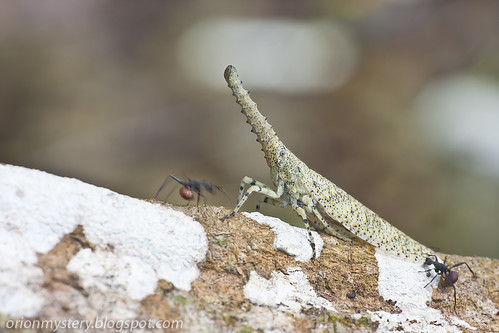
Photographing an arthropod (or any other macro subject) at its eye level or even lower gives a very nice perspective as opposed to photographing it from a higher angle!

Others: The R1/R1C1 is wireless though. But the MT-24EX can be configured to have the focusing light turned on by double tapping the shutter button. On the R1(SB-E200), however, you can only turn on the focusing light by manually pressing the button on the each of the two R1(SB-R200), or once, on the SU800 (for R1C1).

Okay, so you can put like eight R1 (SB-R200) on the mounting bracket and make a beauty dish out of it for fashion model shoot, but what's the point of that when it can't do the very job it's designed for properly?

Anyway, the main issue here is the over-sized R1 mounting bracket, but it shouldn't be too difficult to DIY a bracket to hold the two SB-R200 better.  You can look here for ideas.


Sunday, October 21, 2012

CW's macro rig

CW's macro rig. Canon 7D, Tamron SP90 (and extension tubes), 270EX II, FMMB and concave diffuser. You can find some info on FMMB here and here.

More macro rigs here.

All images by Cheewai.

270EX II (wireless) on FMMB (Front Mounted Macro Bracket, which allows the speedlight unit to always stay in front even as you zoom and the lens extends out.
CW's macro rig IMG_4590
You can find some info on FMMB here and here. There are other options as well besides FMMB as mentioned here.

The same setup from a different angle.
cw's macro rig IMG_4587

Side view, with a big concave diffuser attached.
concave diffuser on cw's macro rig IMG_4596
This is a great example of how one can adapt the concave diffuser idea originally designed for the smaller working distance of the MP-E65 for a longer lens like the SP90, or 100mm or 105mm.  I personally prefer lightweight yet flexible setup like this rather than big speedlight off hot shoe, on equally heavy macro flash bracket, or big speedlight on hot shoe with snoot diffuser. 

It is not very clear from the image above what the diffuser is like. It is an adaptation of the smaller concave diffuser I am using, only bigger!

cup diffuser 06-04-10_1340


Sample images: Canon 7D, Tamron SP90, 270EX II, full flash, concave diffuser.
sample shot concave diffuser fmmb _MG_5057 copy

Nice, soft light thanks for the concave diffuser.
sample shot fmmb and concave diffuser _MG_5062 copy

No diffuser. See the harsh light, spectral highlight and hard/harsh shadow.
fmmb but no concave diffuser_MG_5061(No Diffuser) copy

More macro rigs here.


Thursday, October 18, 2012

Lantern fly

Another lantern fly added to my collection. The species count now stands at 9. It is not exactly a new species for me since I had photographed a nymph of this lovely Zanna sp. back in Oct 3, 2009. Yes, it took me a little more than three years before I finally had the luck to come across an adult Zanna sp. lantern fly!

I spent 4 hours and took like 300 images of this exotic beauty!

All images taken with a Sigma 150mm, 1.4x Kenko teleconverter and cheap tripod, fully natural light. (except the nymph images)

Adult of Zanna sp.
lantern fly of malaysia - zanna sp. adult IMG_1394 copy

lantern fly of malaysia, zanna sp. adult IMG_1512 copy

Zanna sp. and a Polyrhachis sp. ant.
lantern fly of malaysia, zanna sp. and a polyrhachis ant IMG_1472 copy

Zanna sp. and two Polyrhachis sp. ants
lantern fly of malaysia - zanna sp. and two polyrhachis ants IMG_1402 copy

The nymph
lantern fly of malaysia, Zanna terminalis nymph (IMG_9249copy)

lantern bug of malaysia zanna sp. IMG_9228web

lantern fly of malaysia, zanna sp. IMG_9217web

My complete collection of these beautiful lantern flies / lantern bugs of Malaysia is here.


LinkWithin

Related Posts with Thumbnails